How To Make A Marbled Clay Ring Dish Out Of Clay (Easy!)
/
I love a good DIY craft and lately I have been seeing the cutest little clay trinket dishes pop up, so I thought I would try to make some myself!
They were a fun project; fast, super easy and great for kids (even my 4 and 6 year old boys made some!) They are also very inexpensive, each dish cost only a few dollars to make!
Here’s what you need:
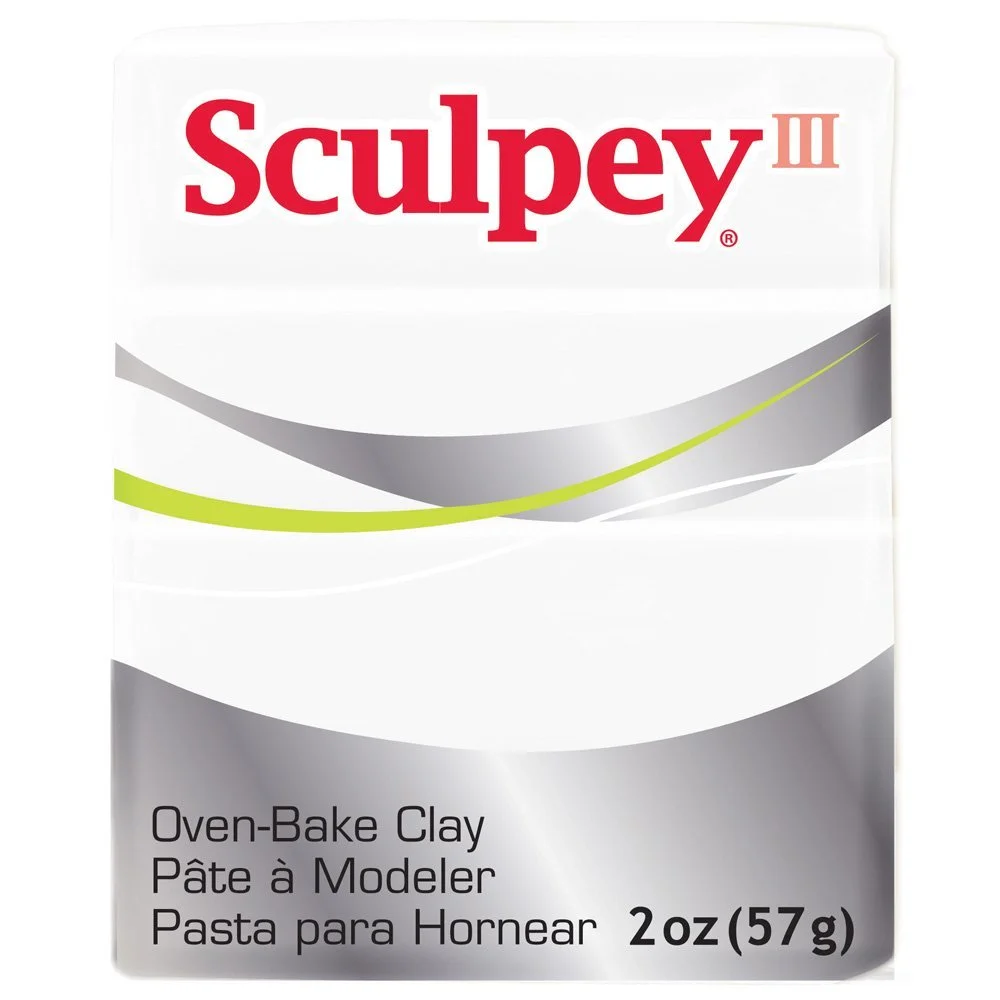
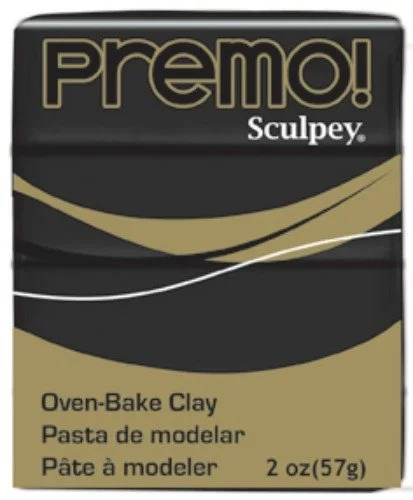
1 to 3 colours of oven bake clay
Rolling pin
Glass, exacto blade or knife to cut out the dish
Small bowl to bake in
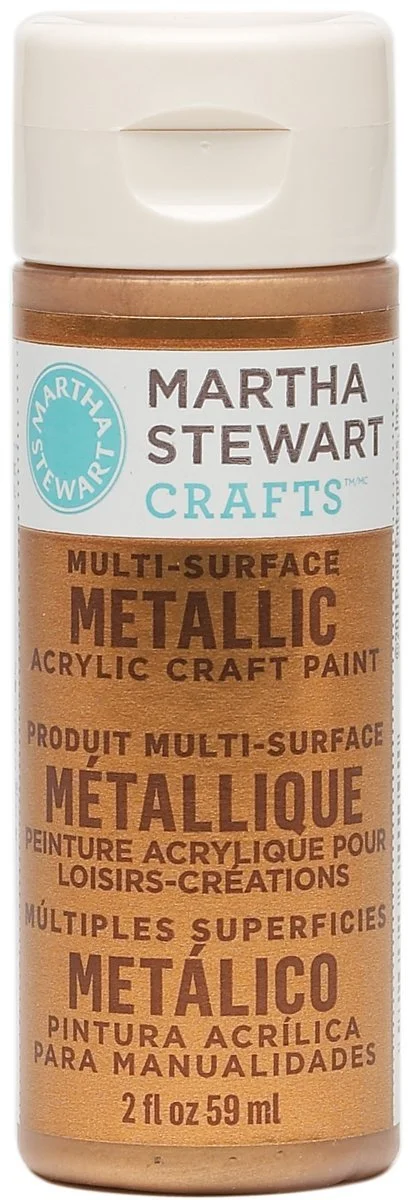
Gold paint for the rim
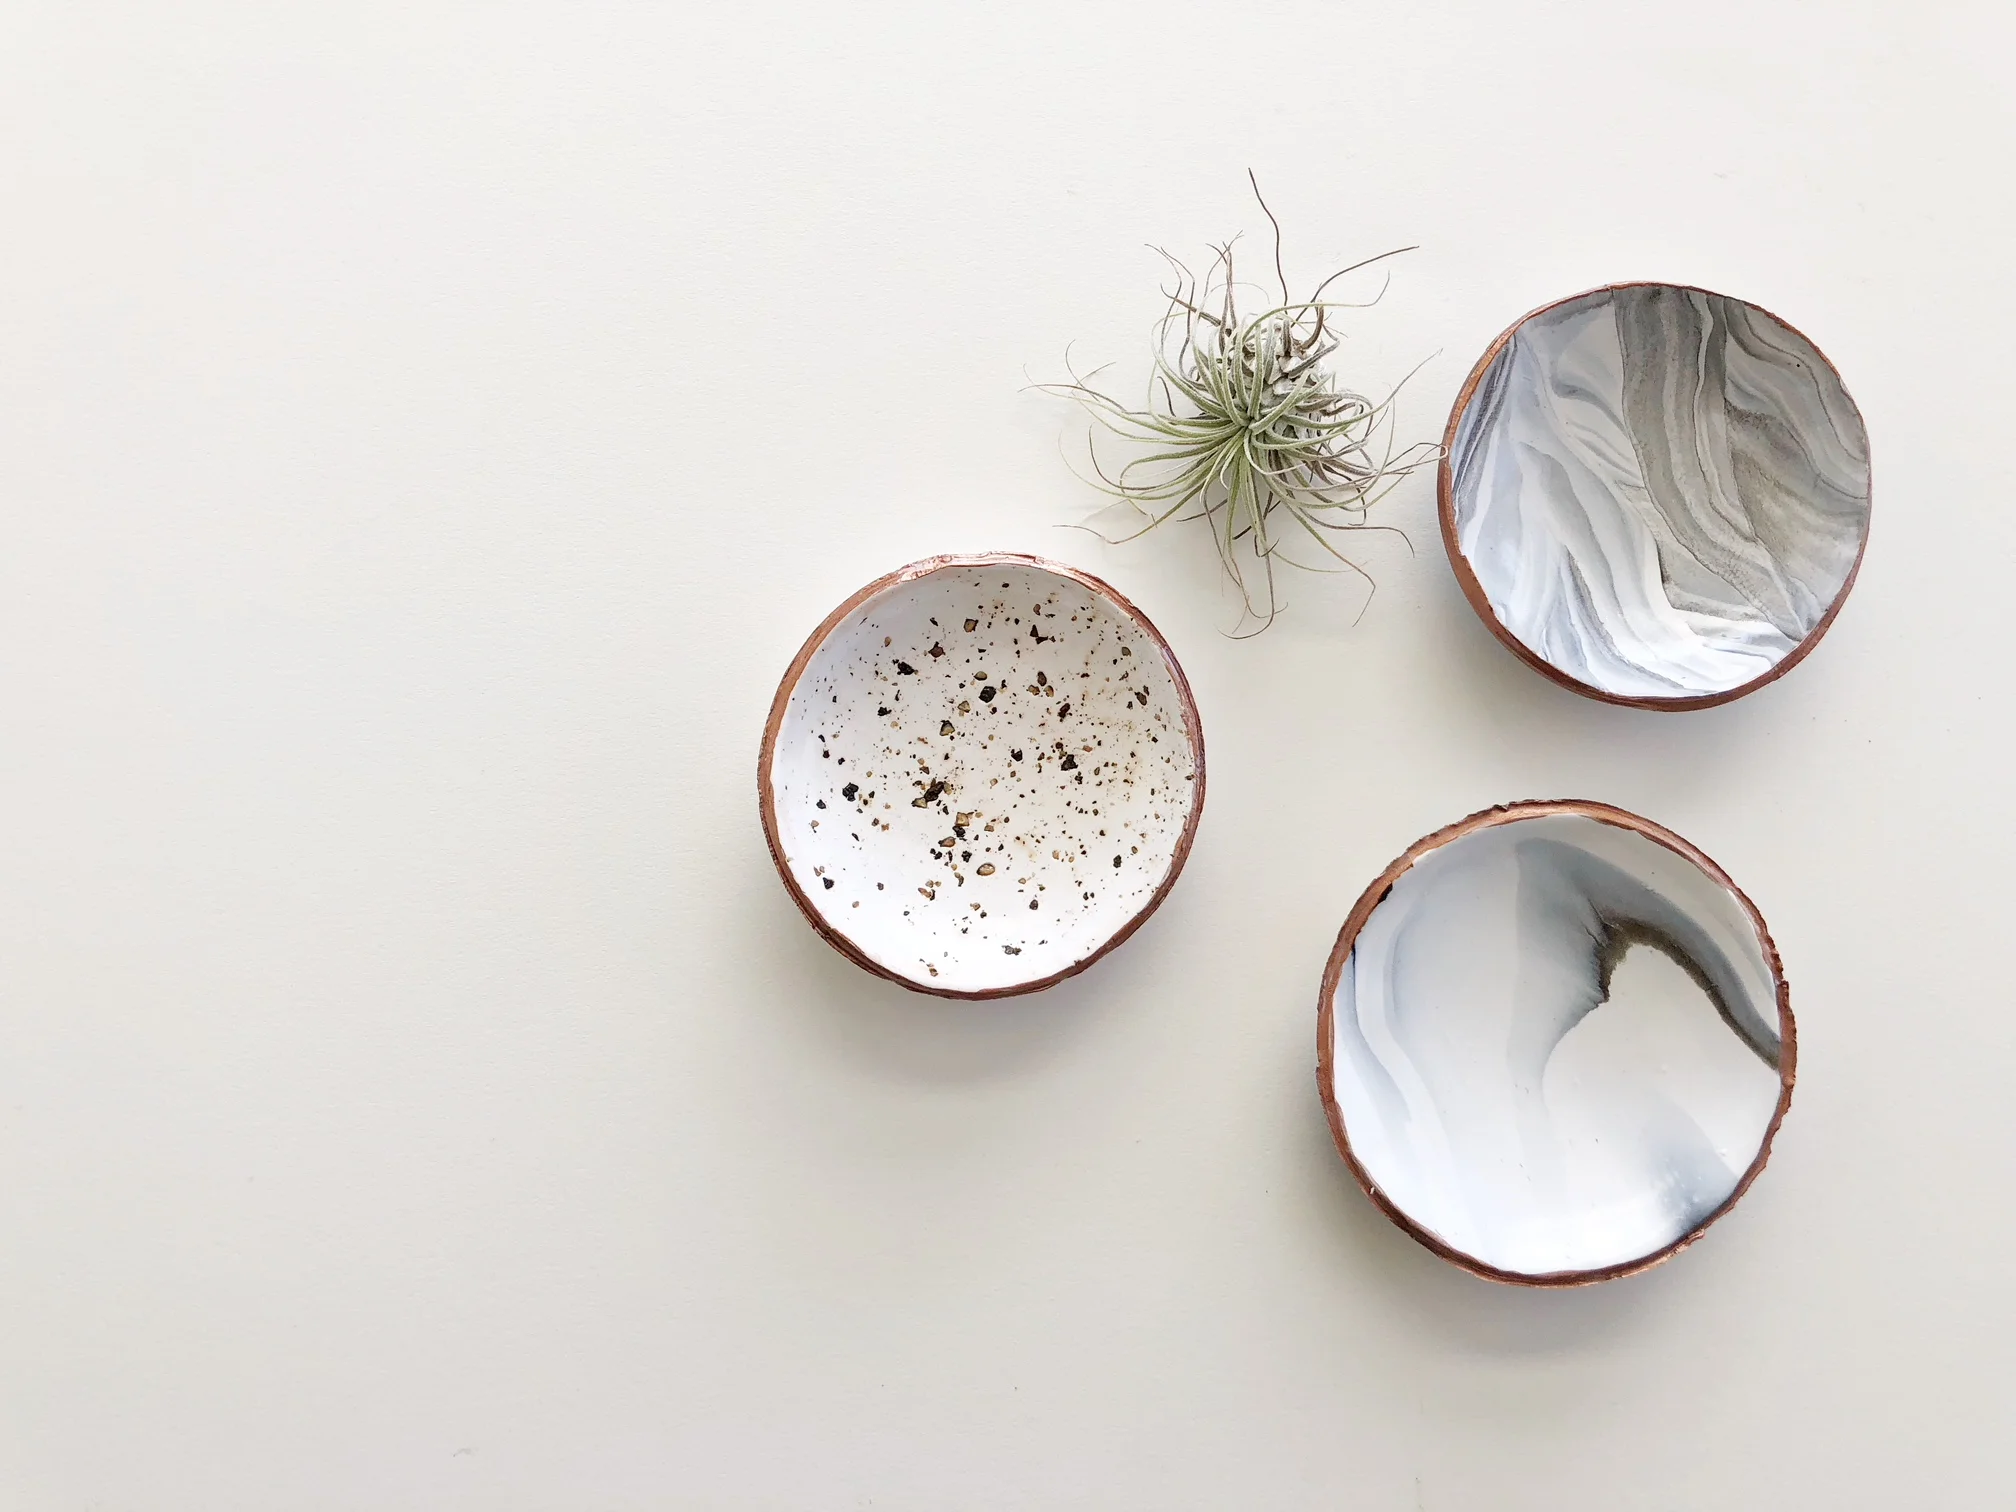
Start by choosing the colours you want to use. I made a black and white marble dish, as well as a plain white one with cracked pepper.
Roll out 3 long “snakes”, making your accent colour a bit thinner than the rest. I used white as my base colour and black to get the marbled look. You could also use a lighter colour, like pink, peach or blue for a more subtle marble.
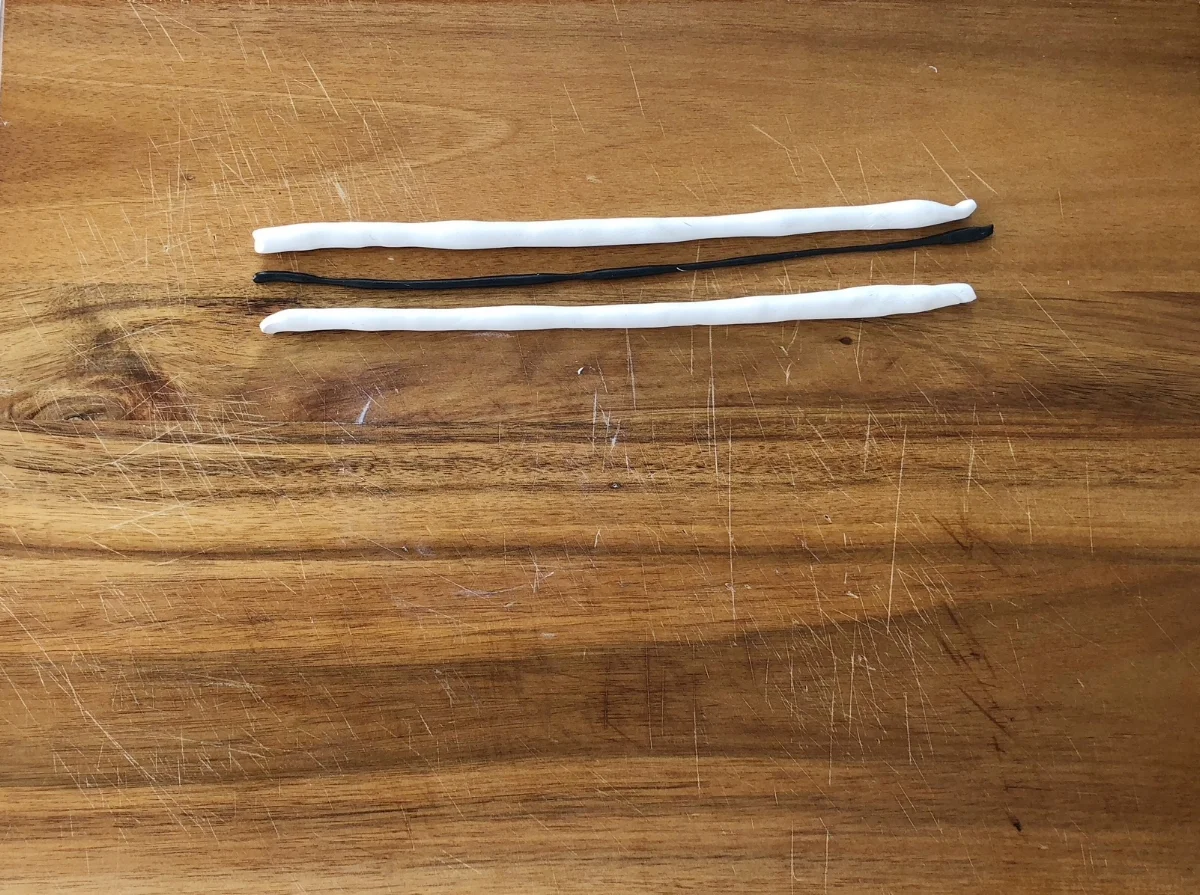
Next twist the pieces together to get a candy cane look.
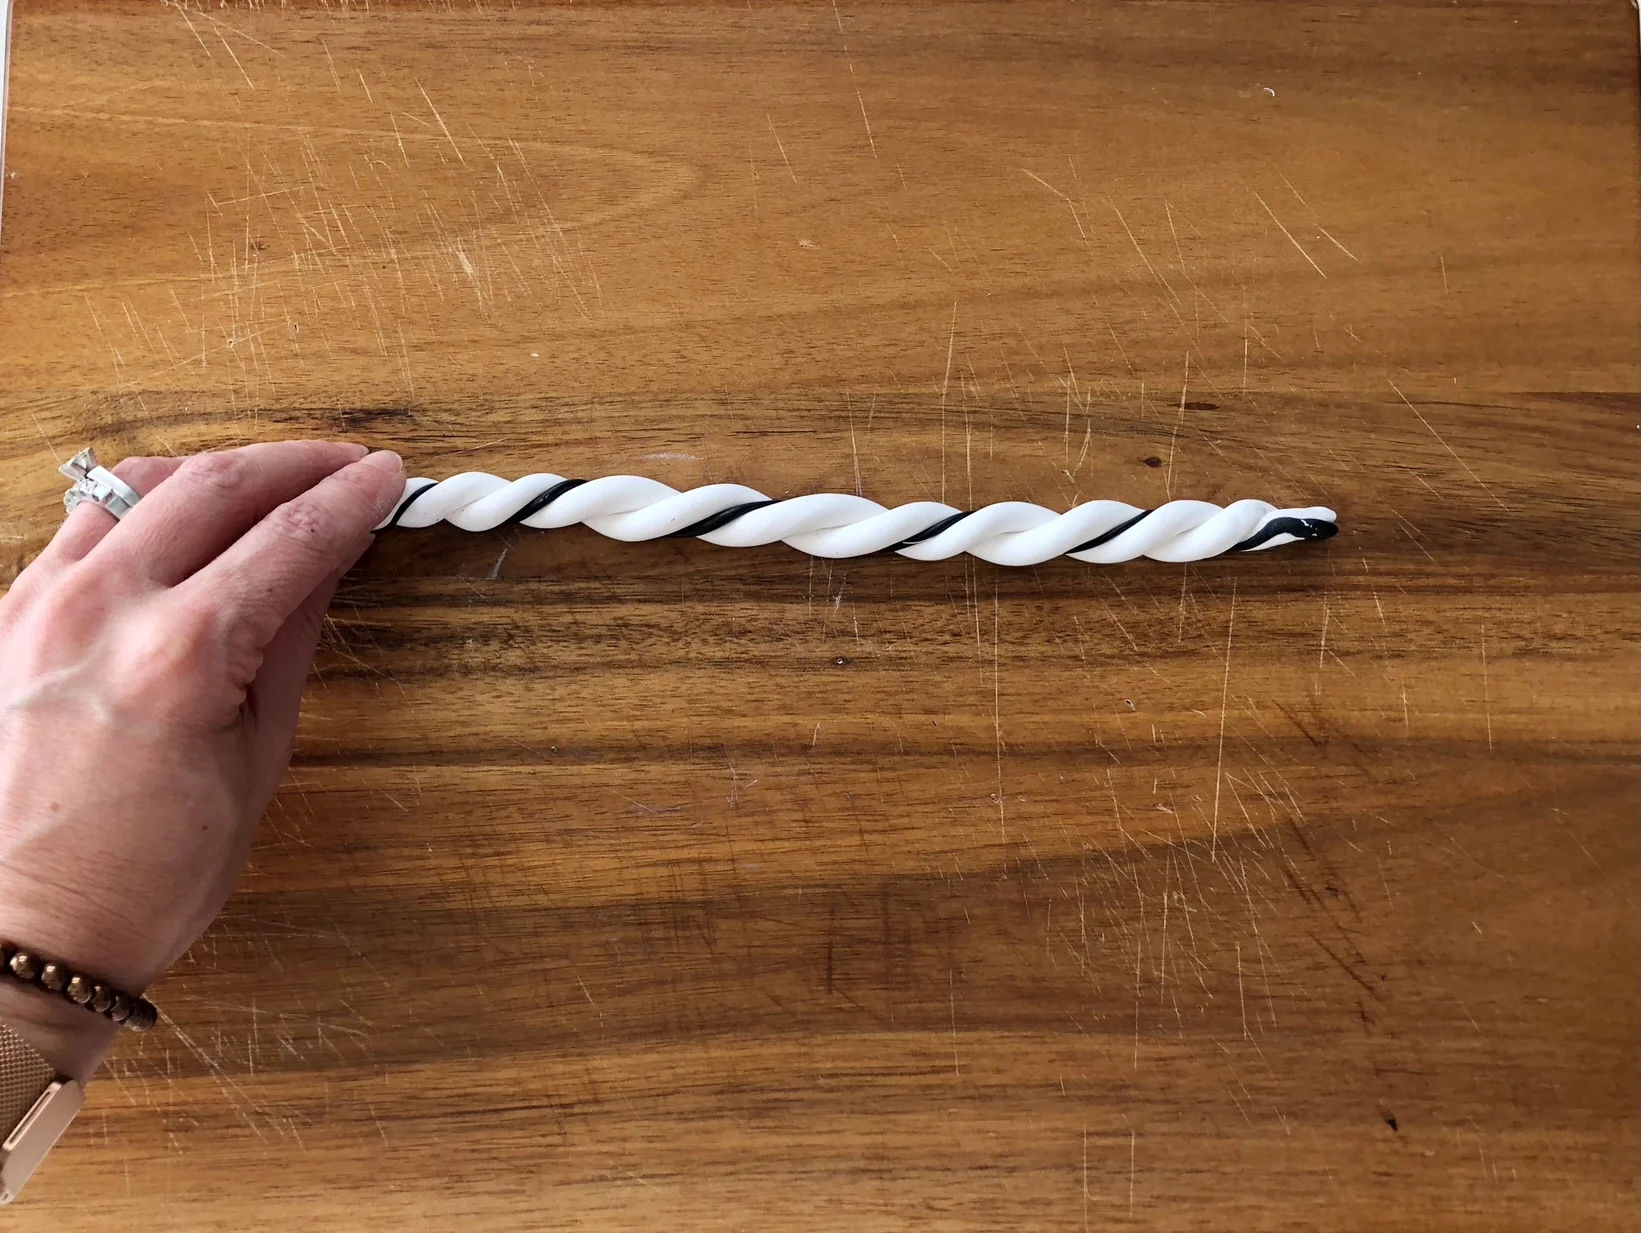
Then roll it back into a longer snake.
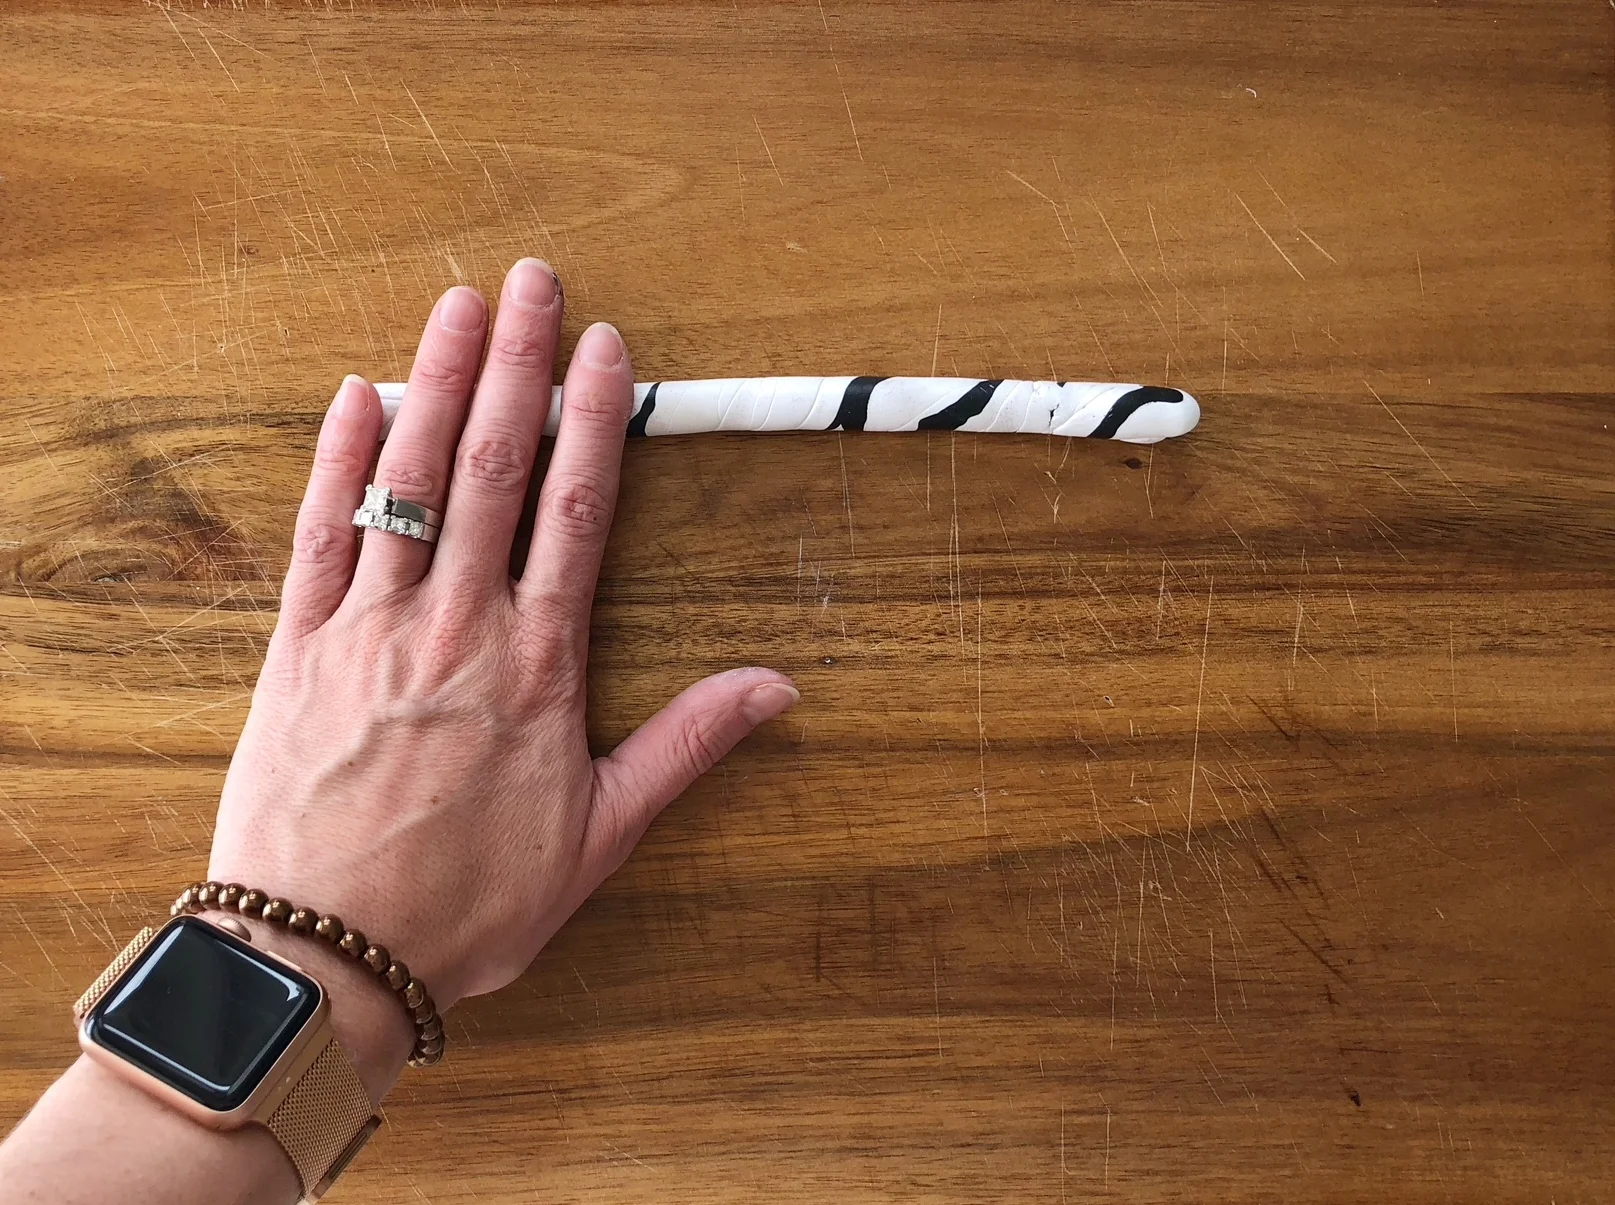
Fold the snake in half and twist it into another candy cane and roll it out. Repeating this process until you get the desired amount of marbling. I do this process anywhere from 1 to 3 times. The more you twist and roll, the more marbled the clay will become.
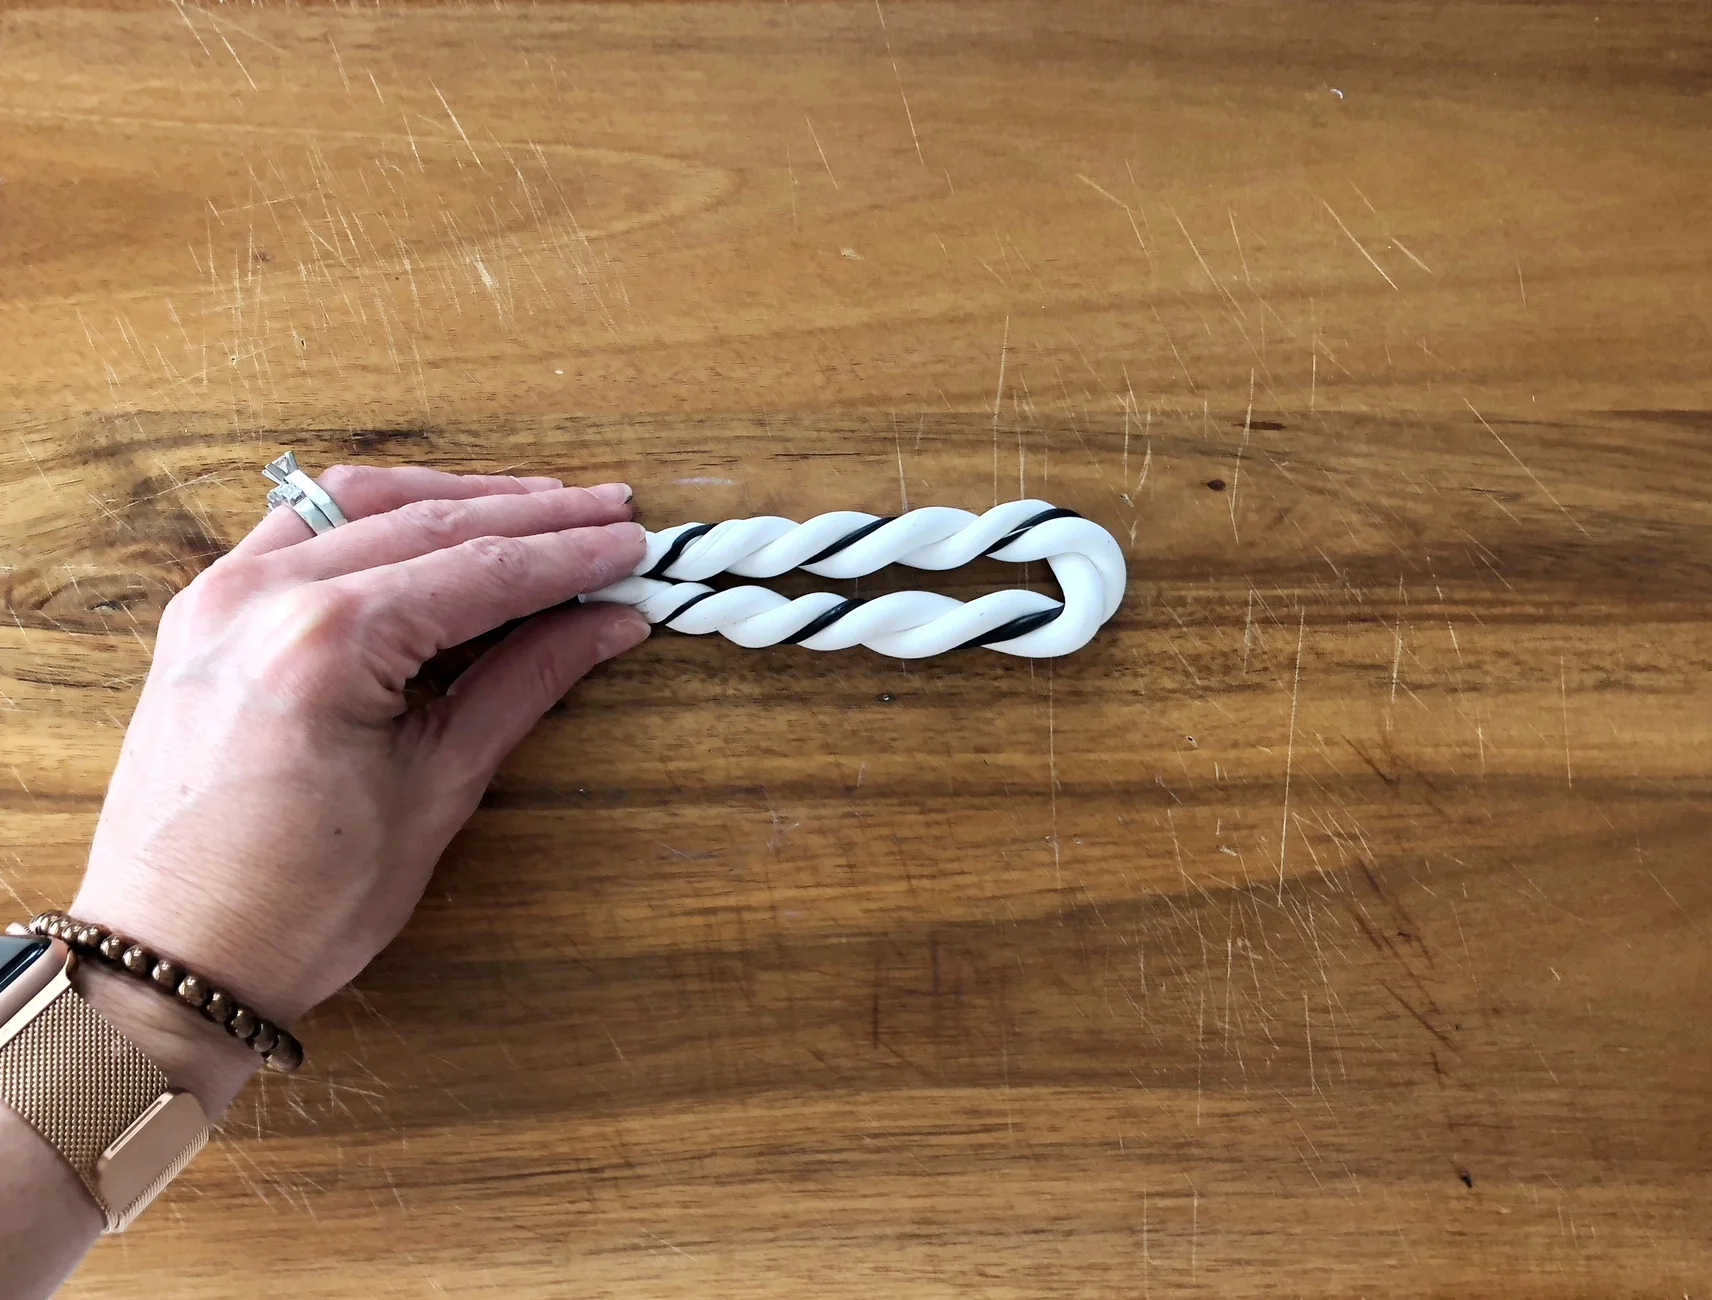
When you feel like you have enough marbling, coil your snake to make a cinnamon bun.....damnit, now I want cinnamon buns!
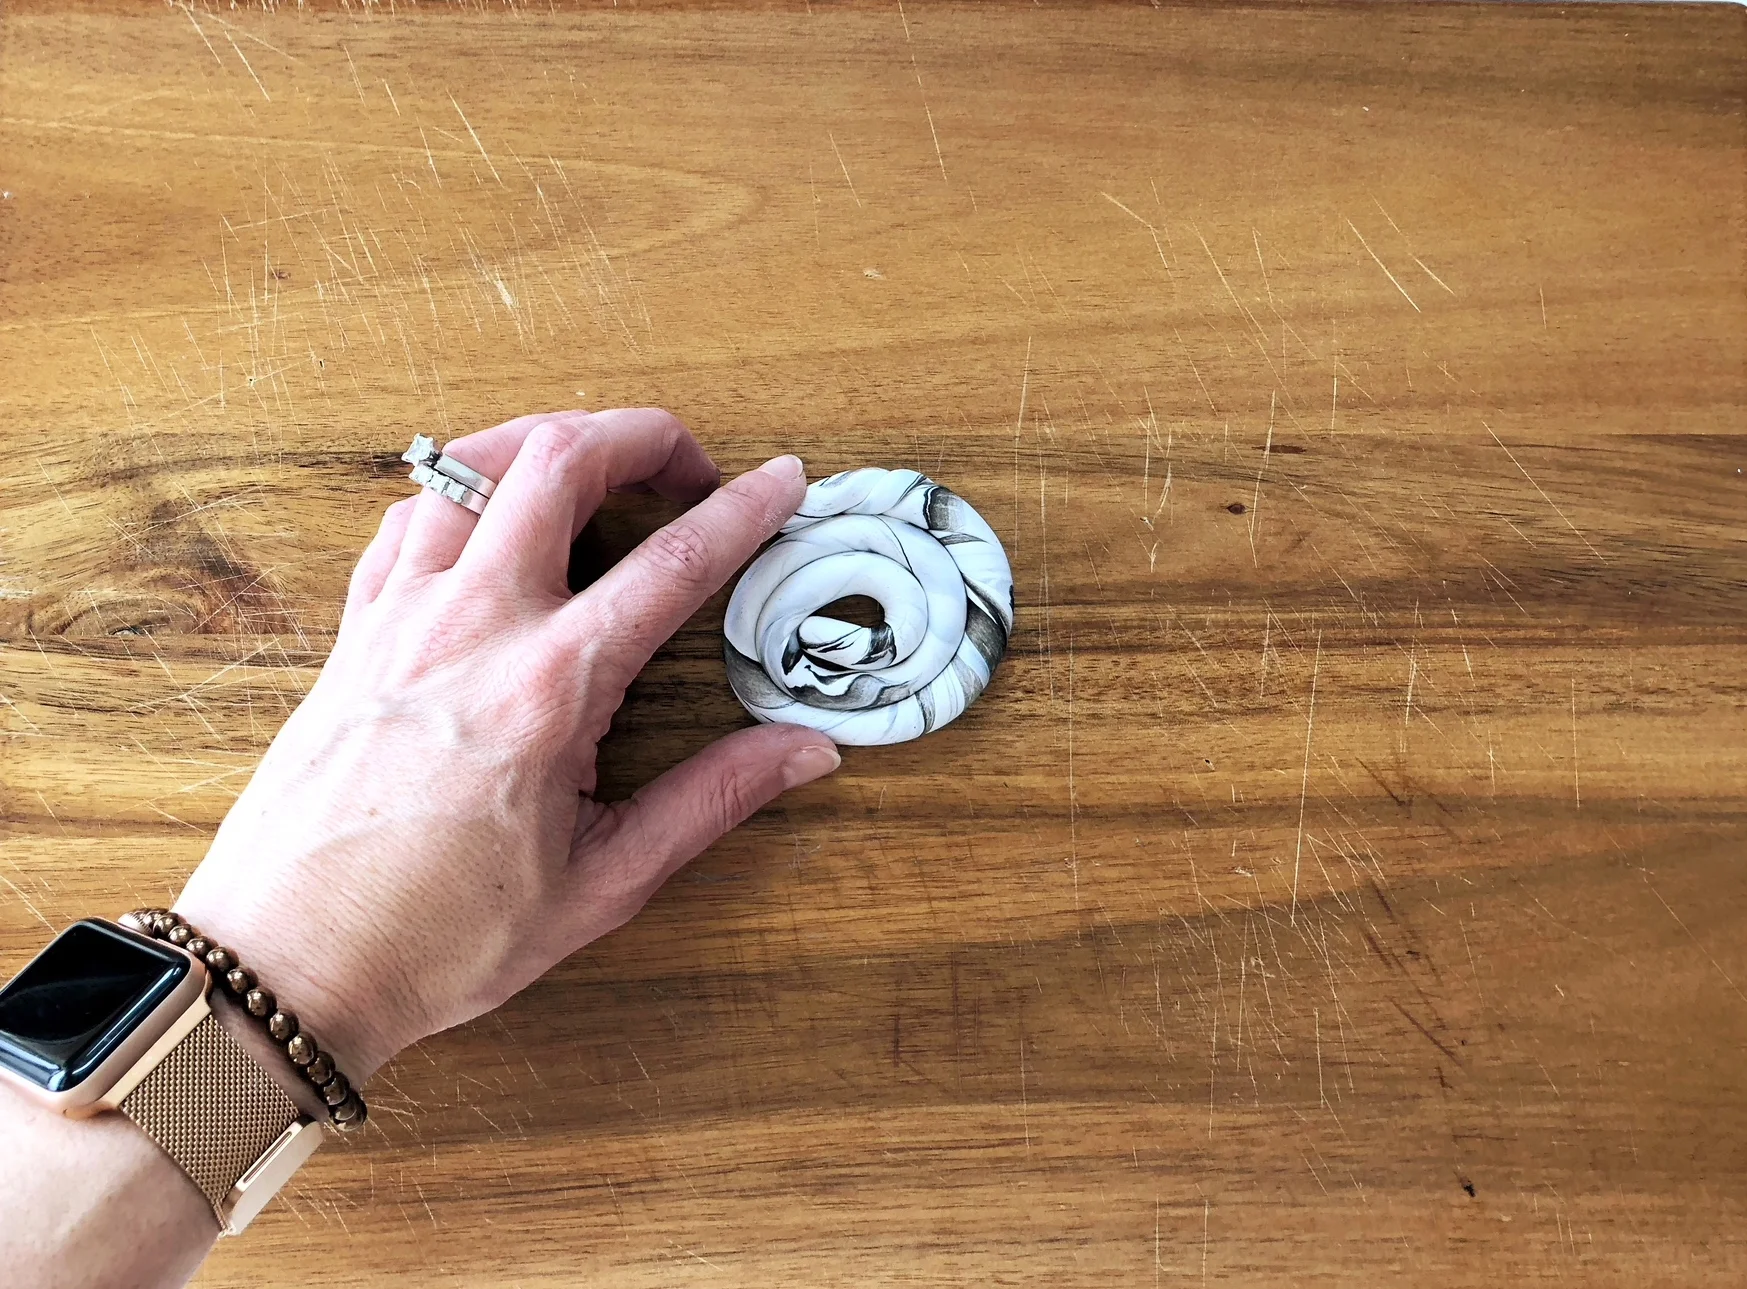
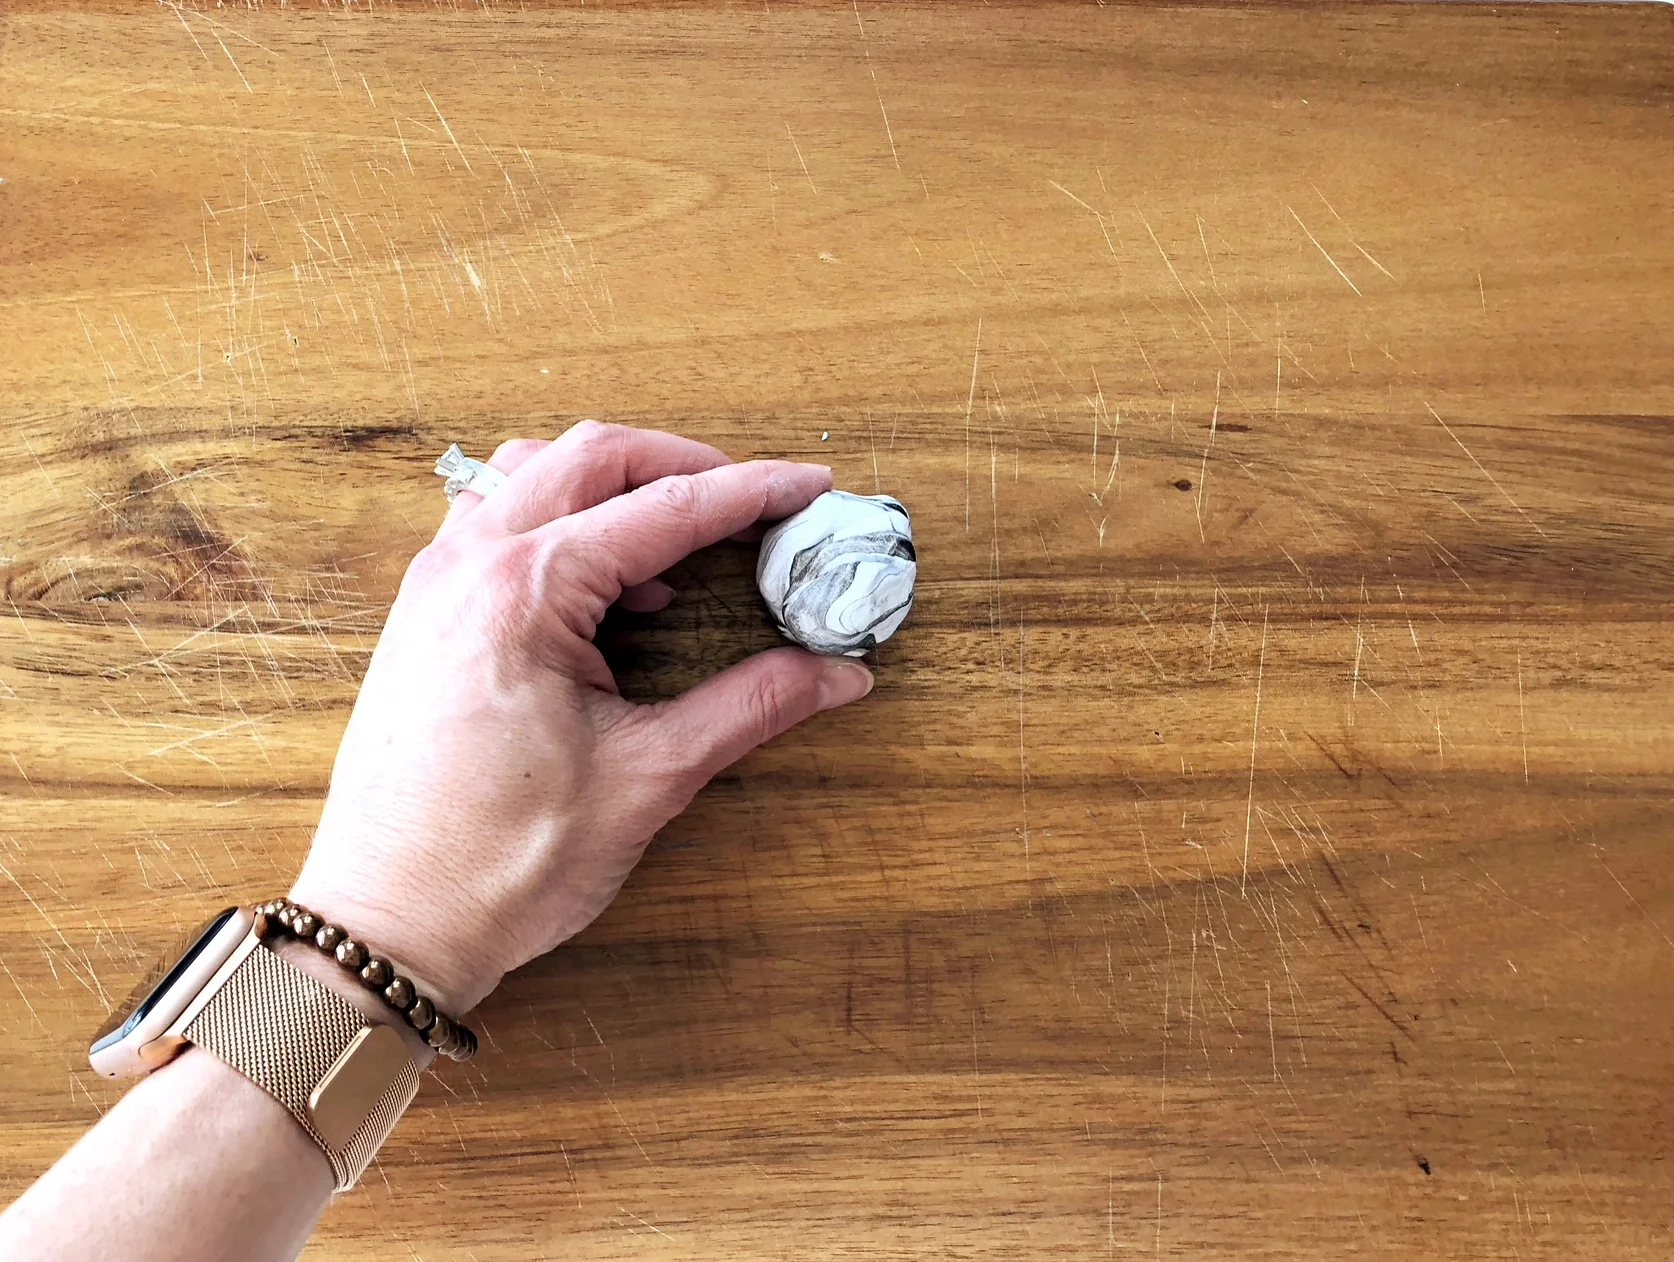
Now mush it up into a ball. My kids loved this part!
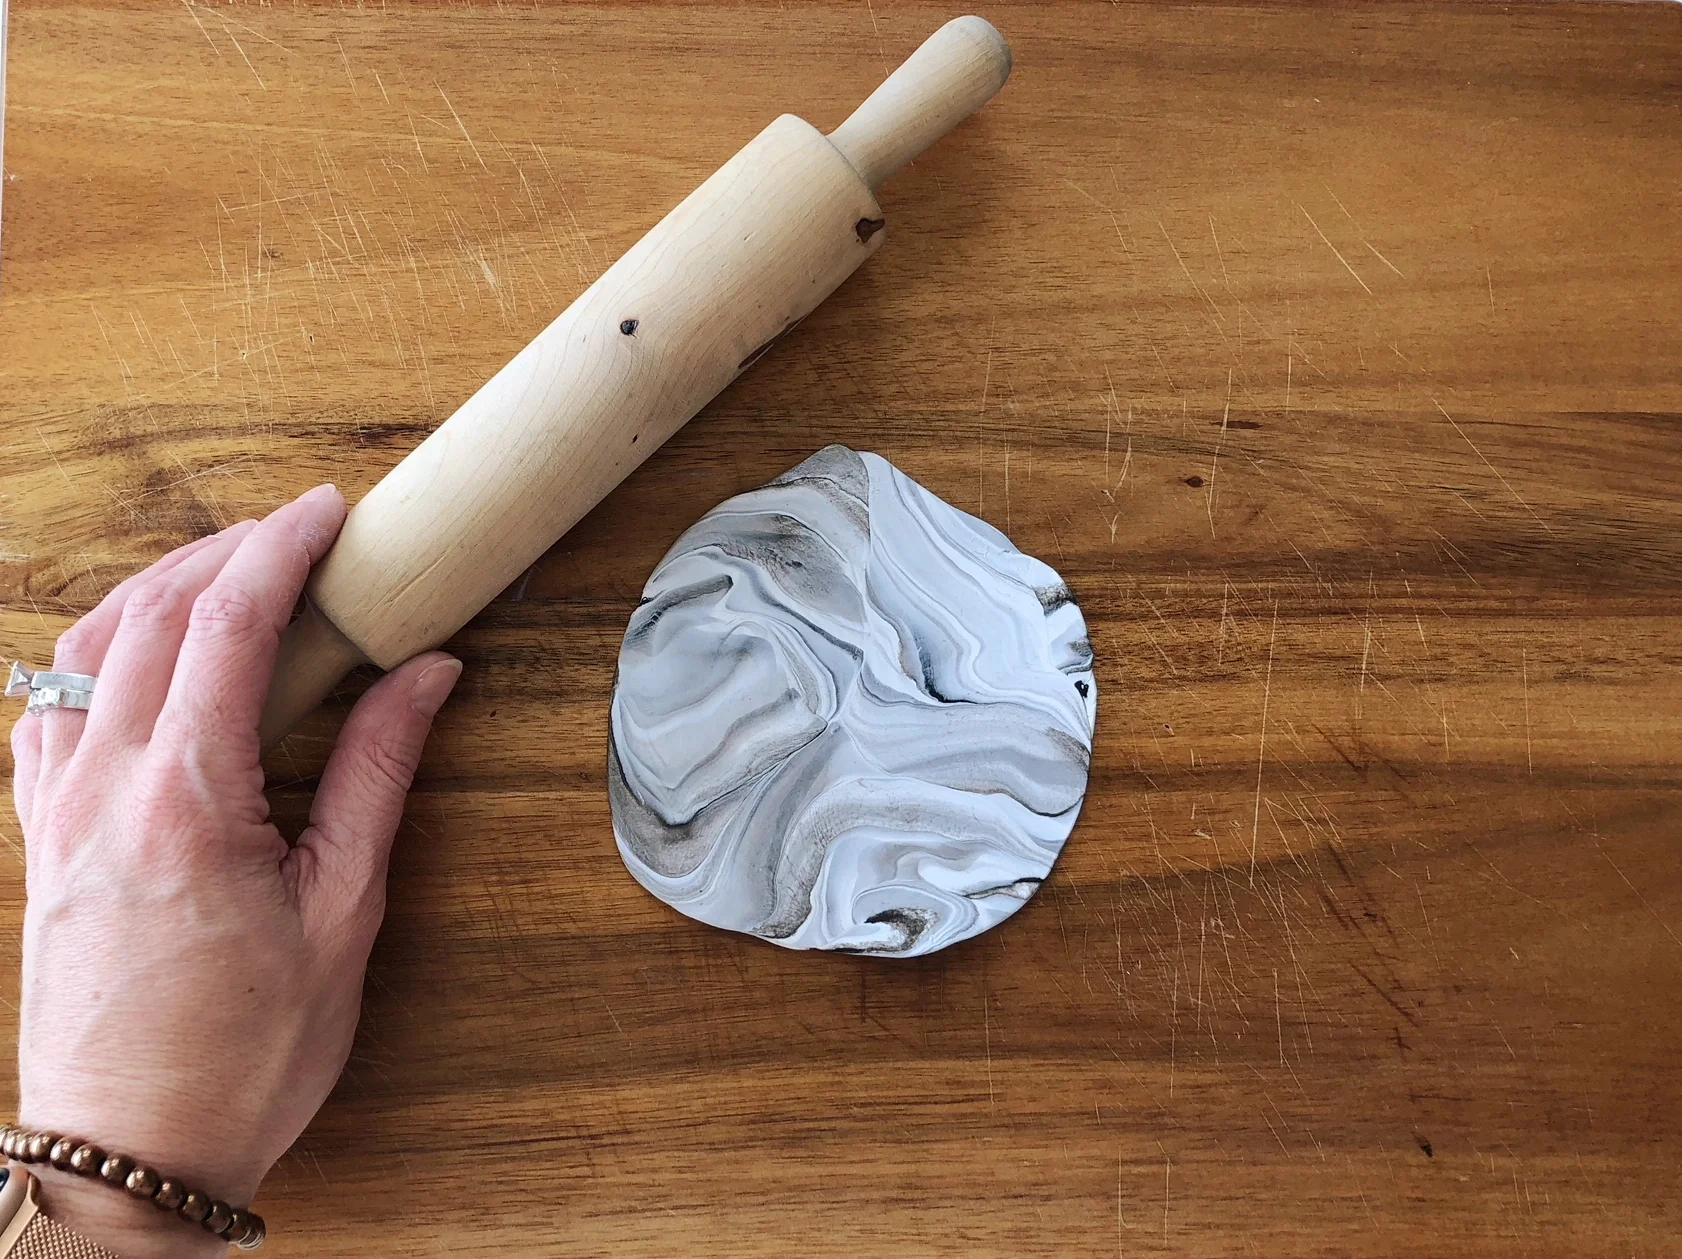
Next, take your rolling pin and roll that baby out. Depending how much clay you have used and the size of bowls you are making you might be able to make 1 or 2 dishes.
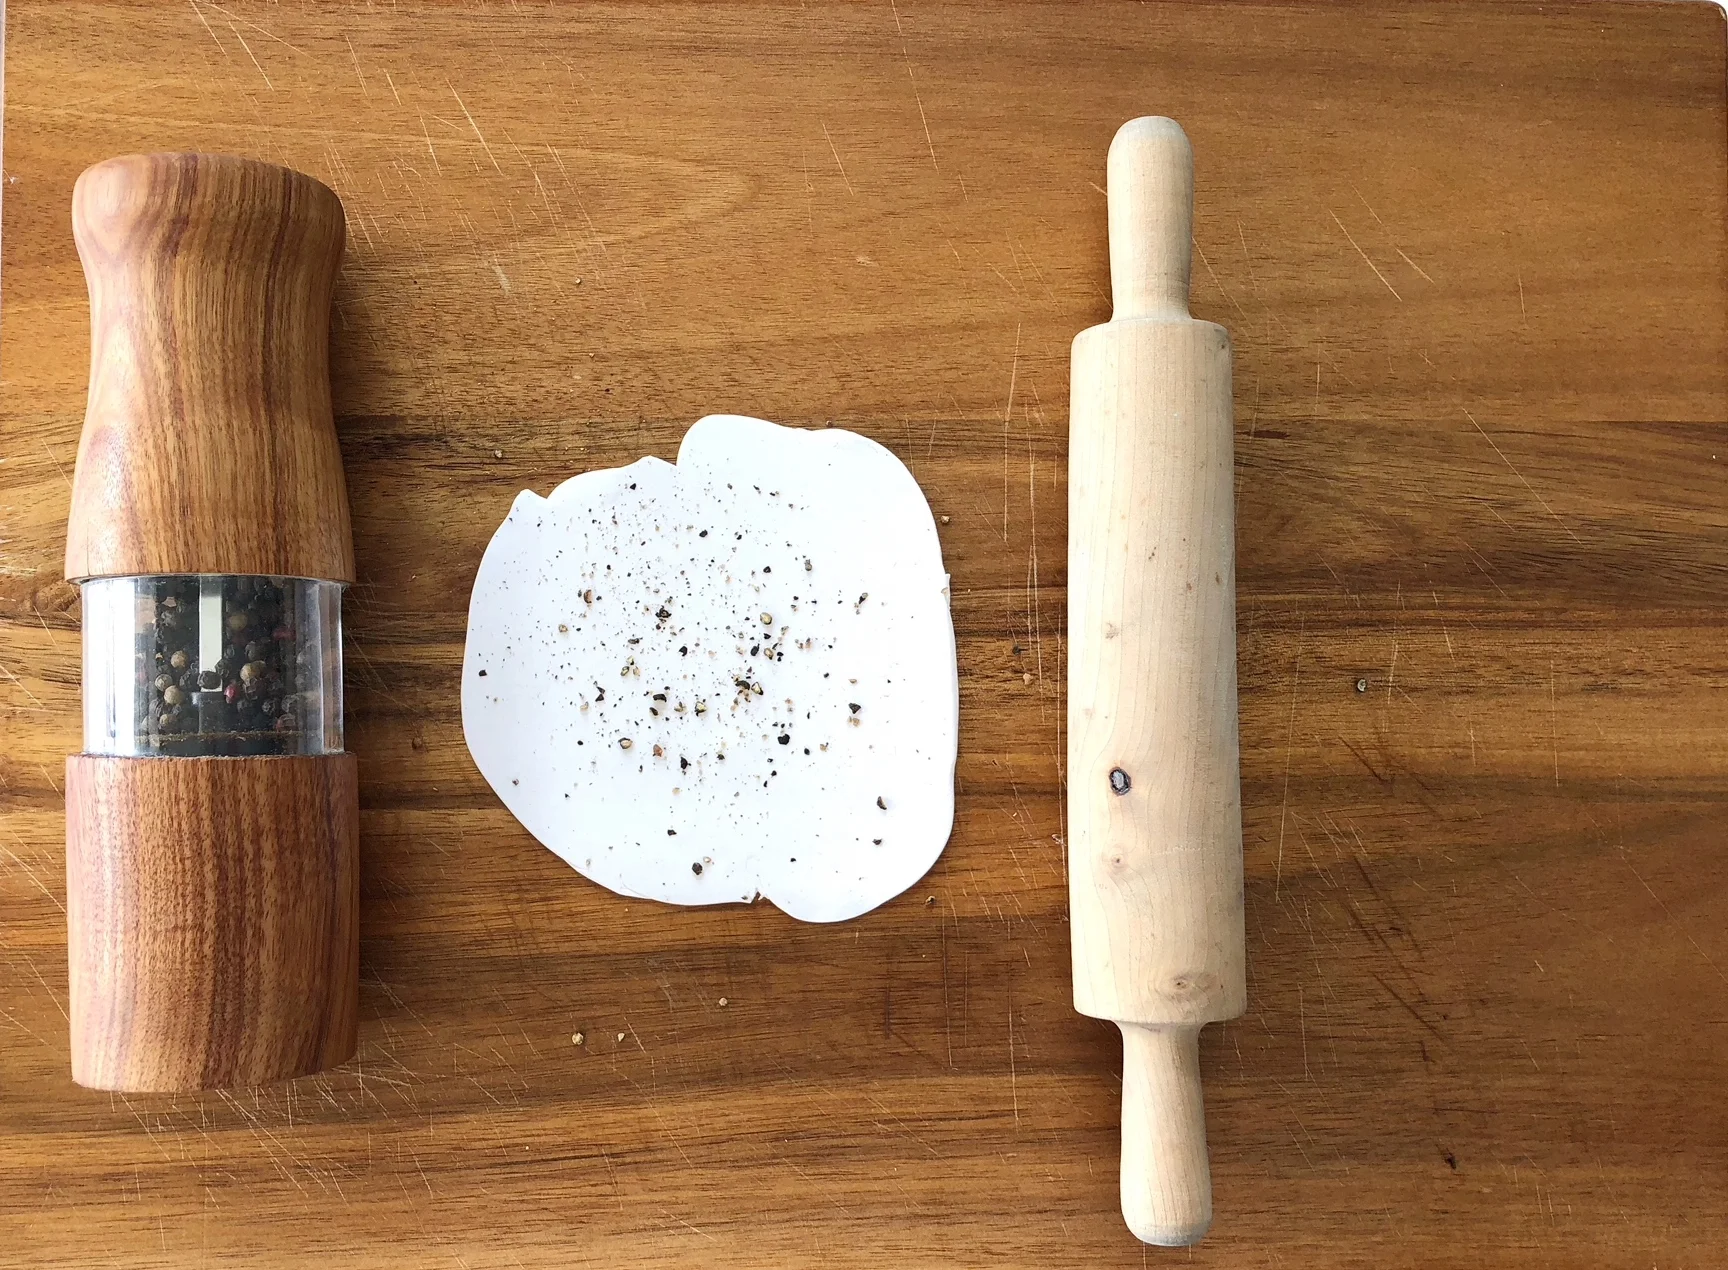
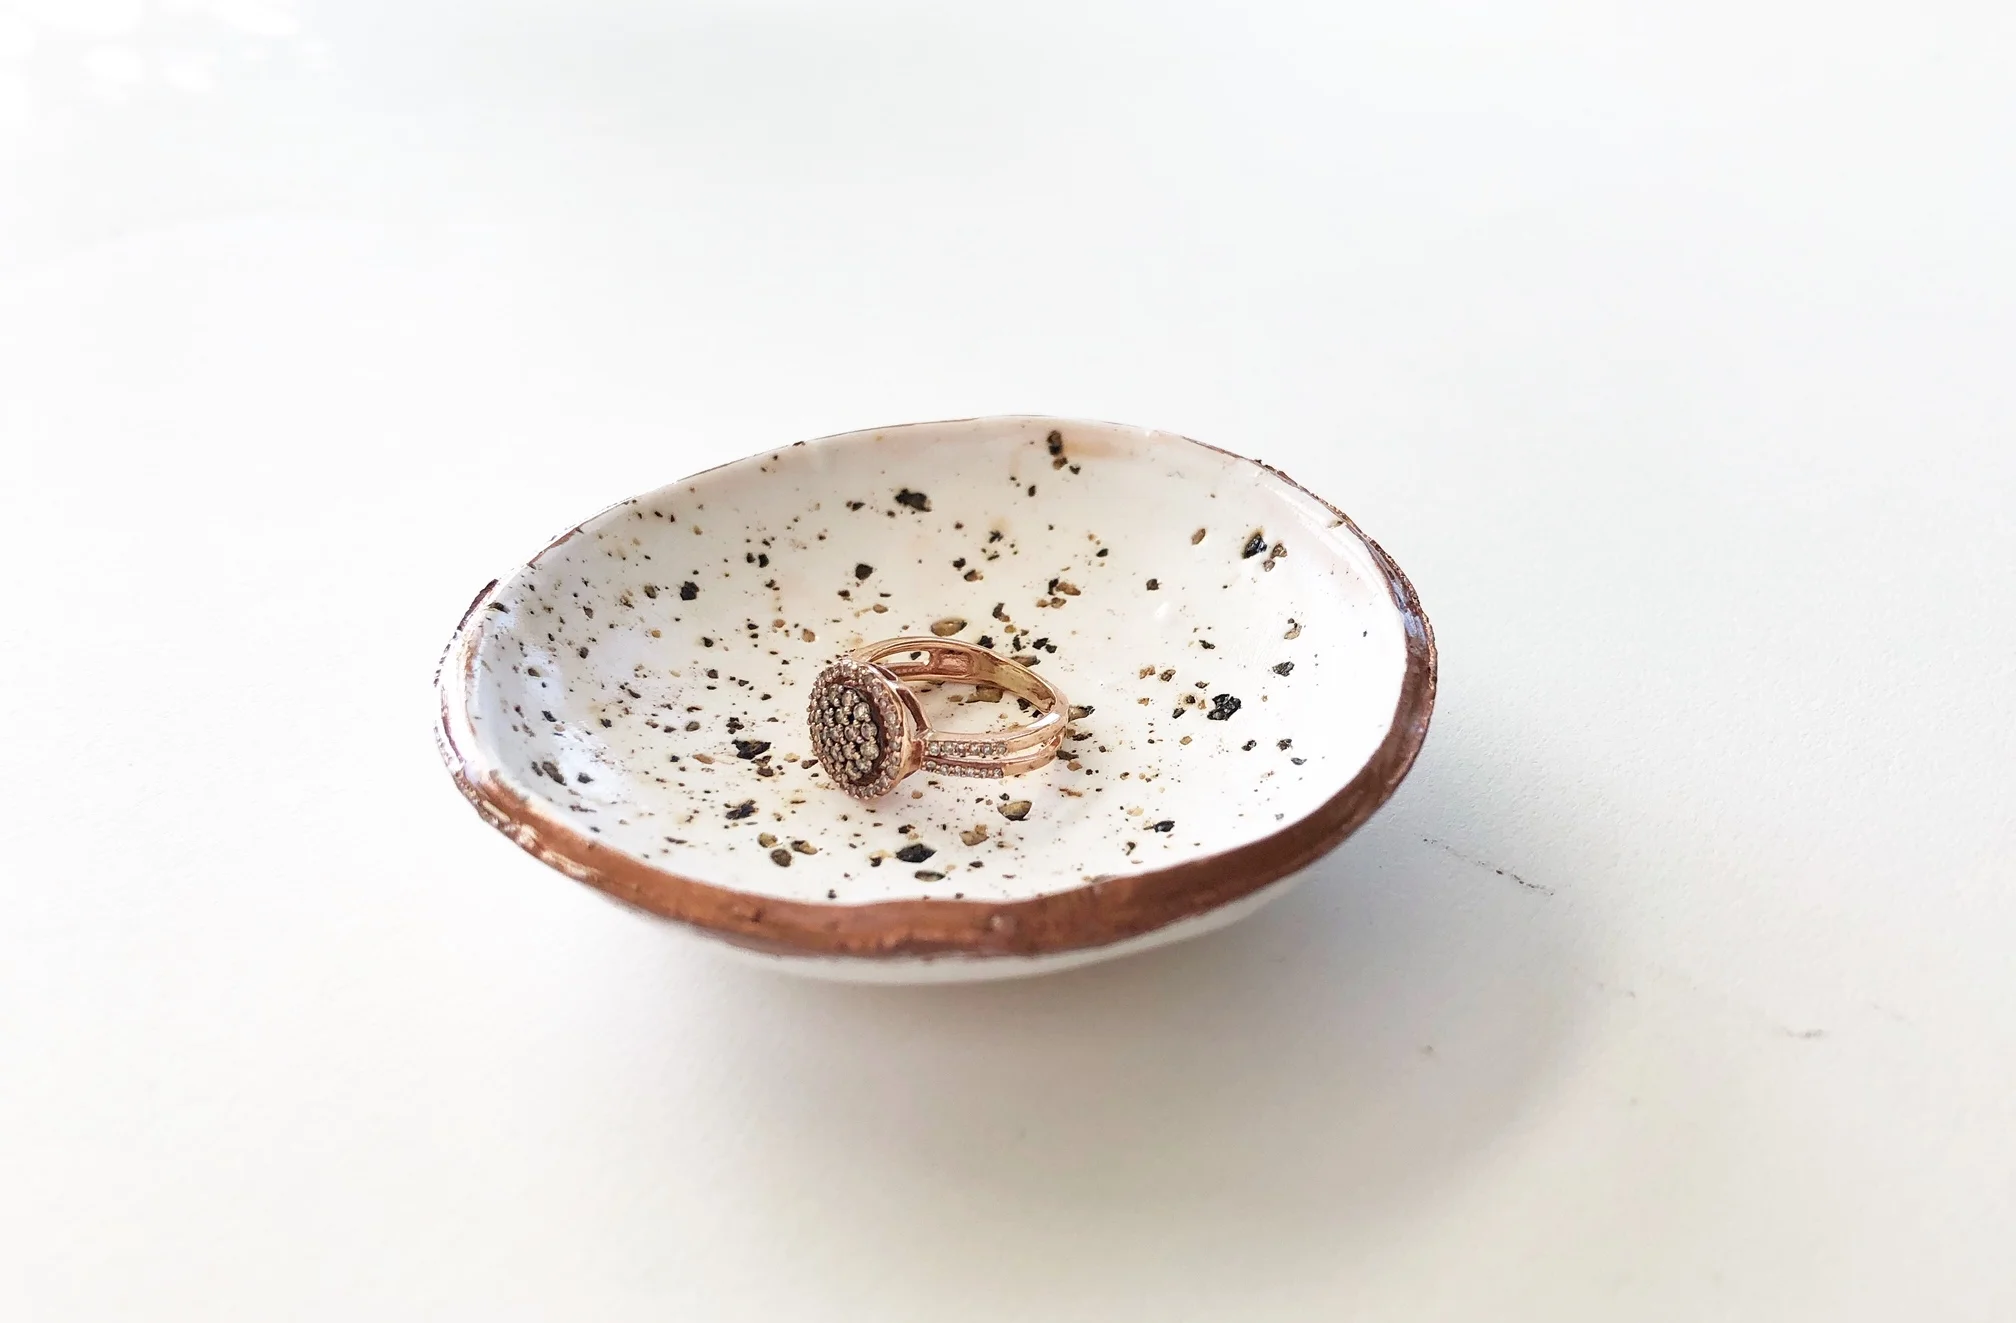
I also made a plain white dish and rolled some cracked pepper in to give it a speckled look because....well why not! Super cute!
Roll the clay until it's fairly thin, ~1/4". I cut mine out with a glass, or you can trace a round bowl with a knife.
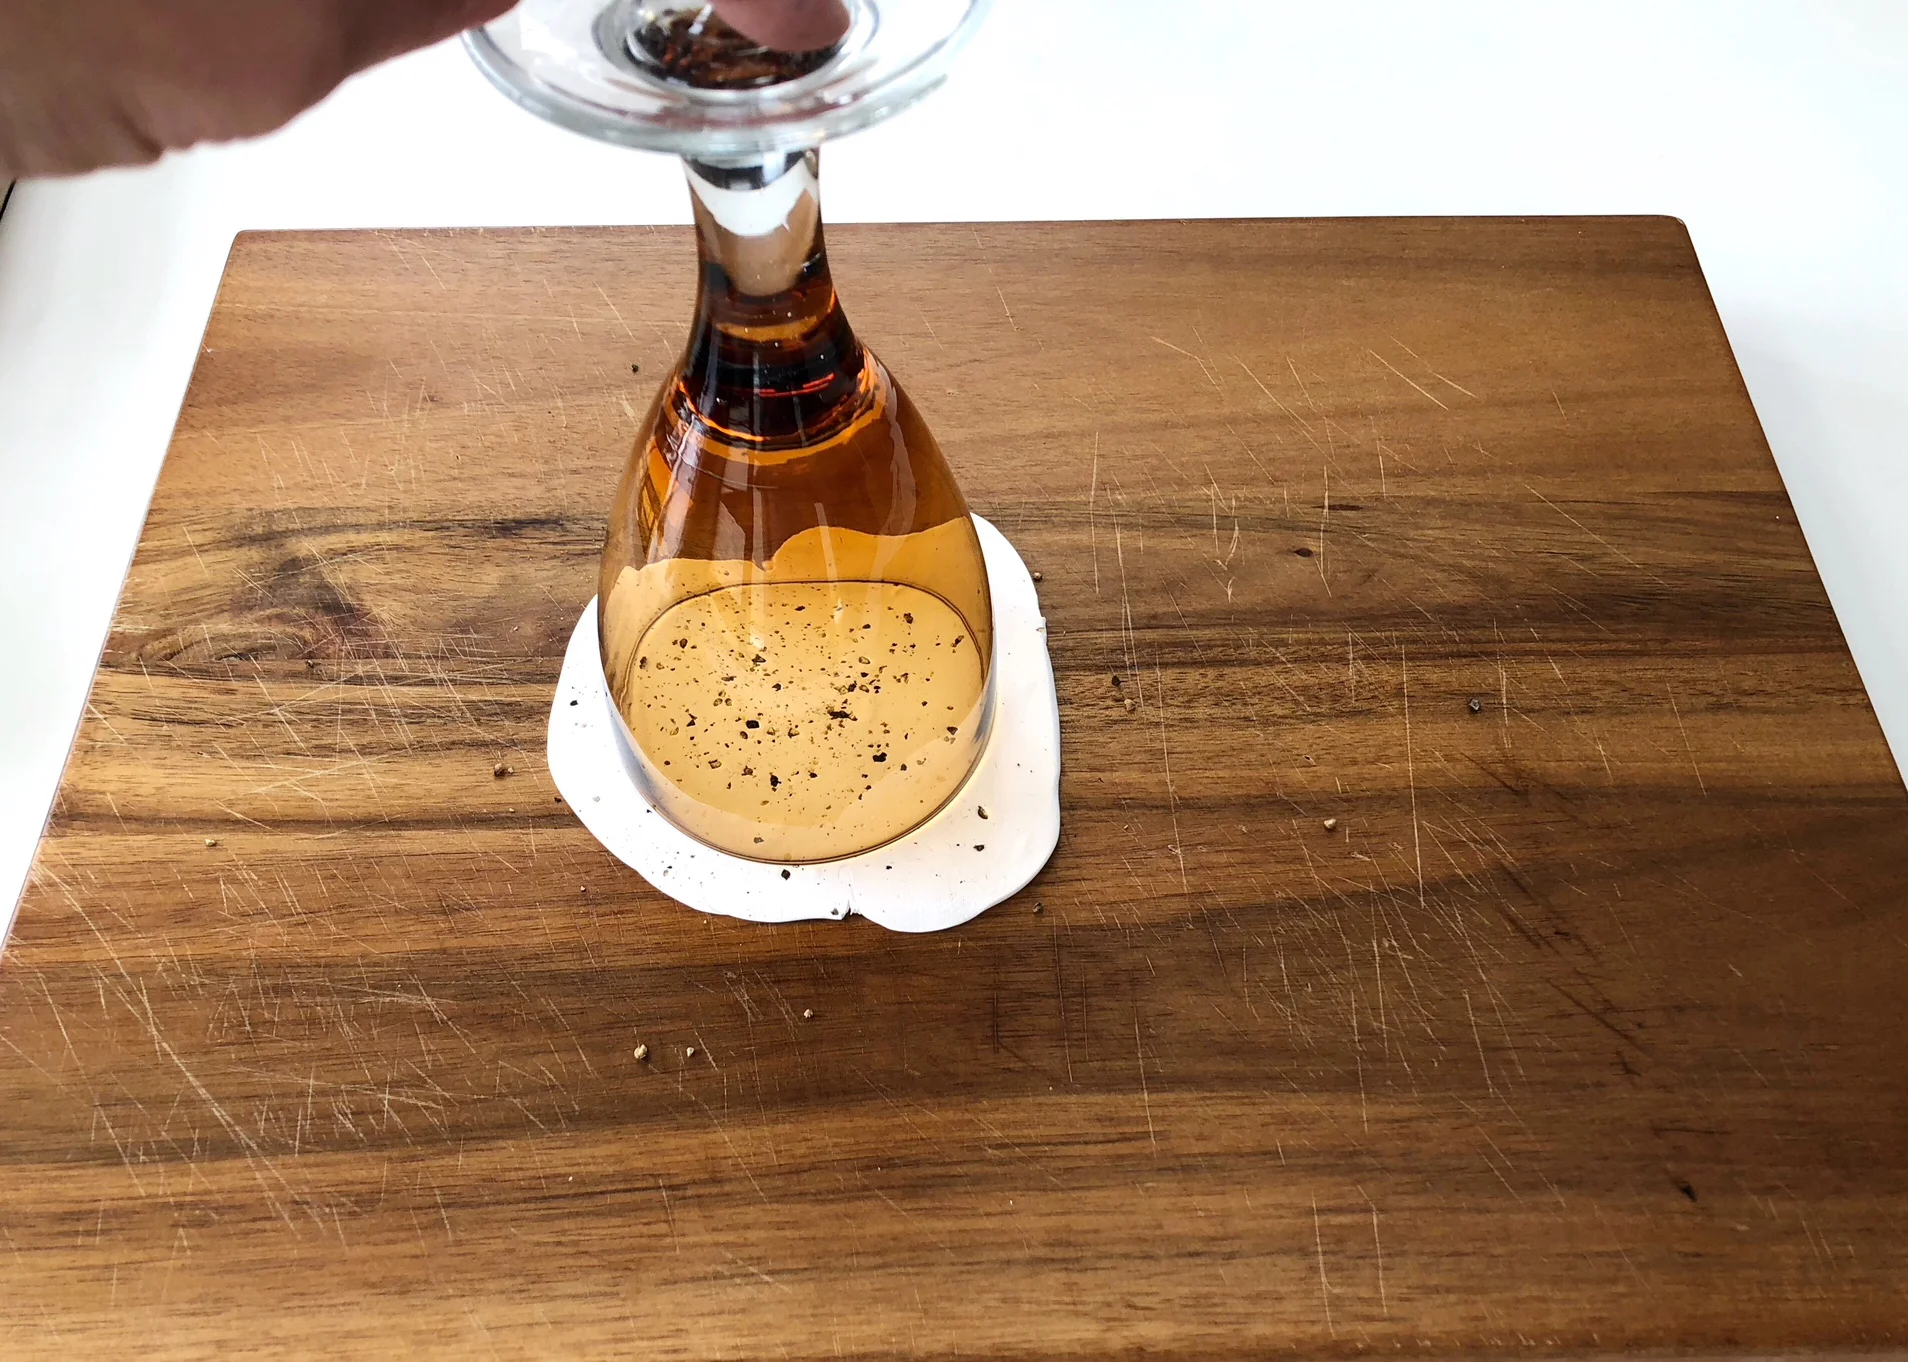
Once you have your dish cut out, you will want to place it in an oven-safe bowl that is a bit smaller than your dish to give it some shape.
Bake at 275* F for 15 minutes.
Let your dishes cool and (if desired) paint the rim. I used a copper colour because it's what I had on hand.
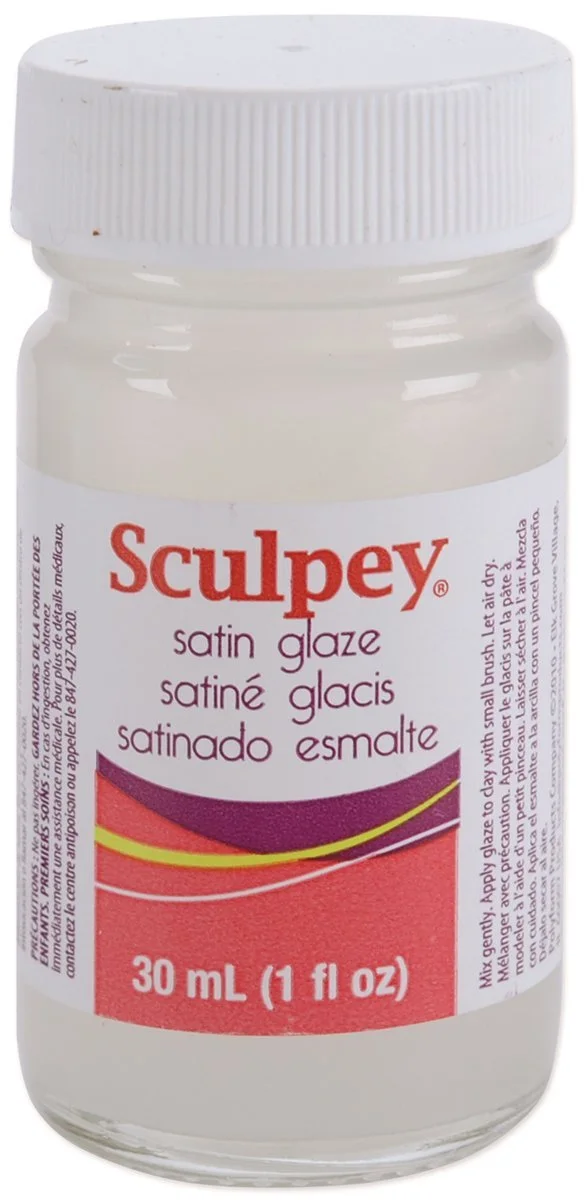
Allow the paint to dry and add a glaze to finish the look. I chose a satin glaze and glazed both the top and bottom.
Note: glazing these dishes does not make them food safe, keep the contents to non-edible items only.
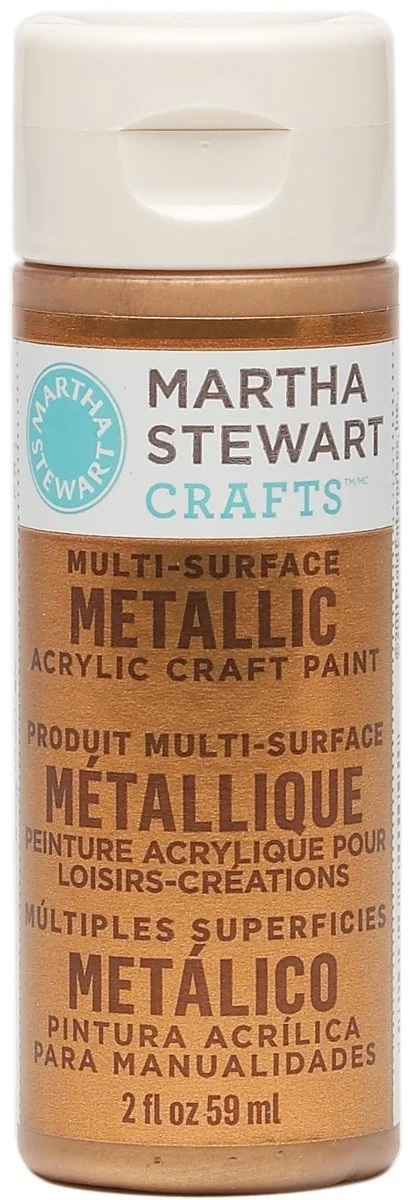
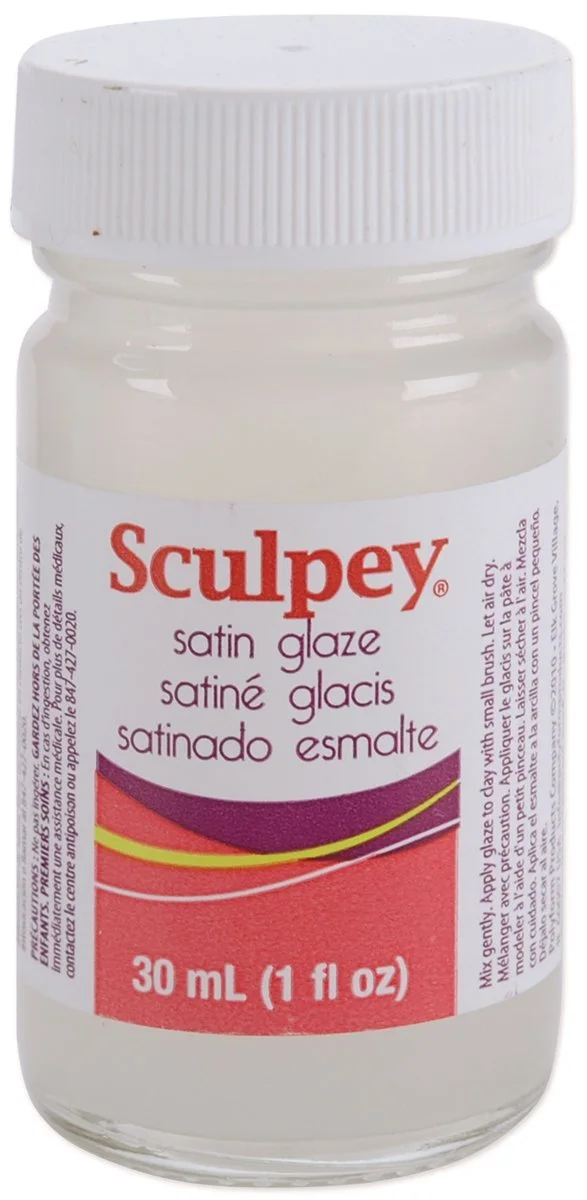
Once it's dry, add some trinkets! Ta-da! A quick, easy, DIY clay ring dish tutorial.
I love how unique each dish is. You could even etch, stamp or paint a design on the top or bottom of each one if you wanted. Endless possibilities.
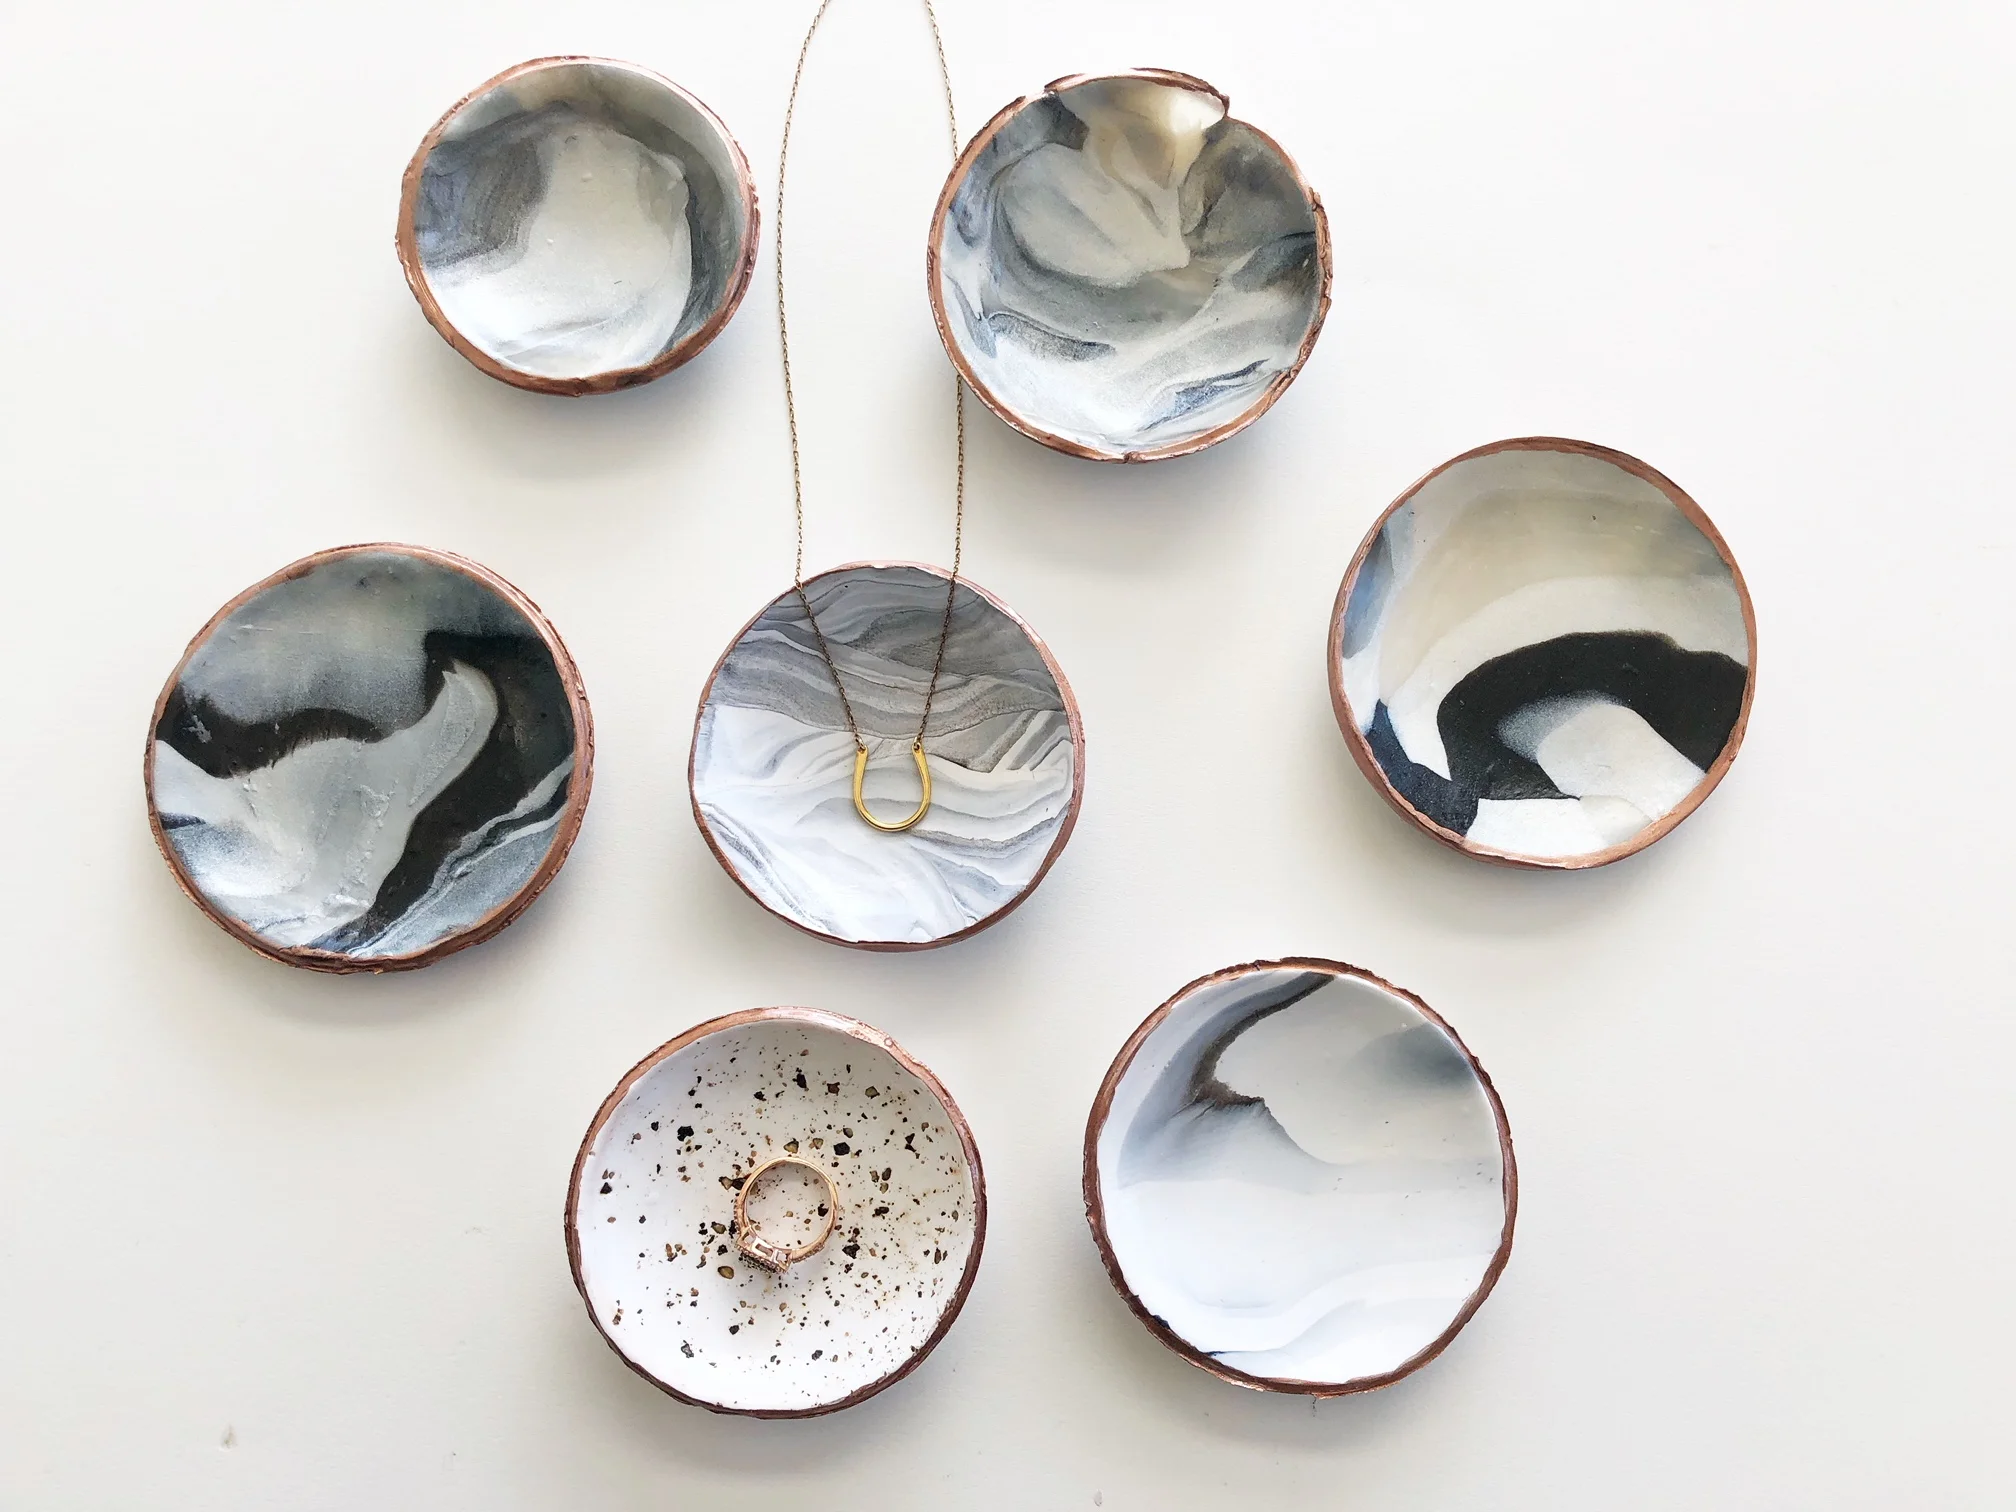
I've been giving my girlfriends one of these dishes along with one of my homemade bath bombs as a little gifty and they've been a big hit!
Enjoy!
Shannon xoxo